Sunday, March 18, 2012

Wingin' It

Literally I winged it.  I made it up as I went along. Remember my cute amigurumi of cthulhu from last week?  Well I managed to finish his wings, but I improvised my way through it.


So here's the scoop:
Step 1-gather your supplies: yarn, hook and 6" pipe cleaner.  I recommend using one that is the same colour as your yarn (I used yellow 'cuz it was all I had on hand--it was that or brown).
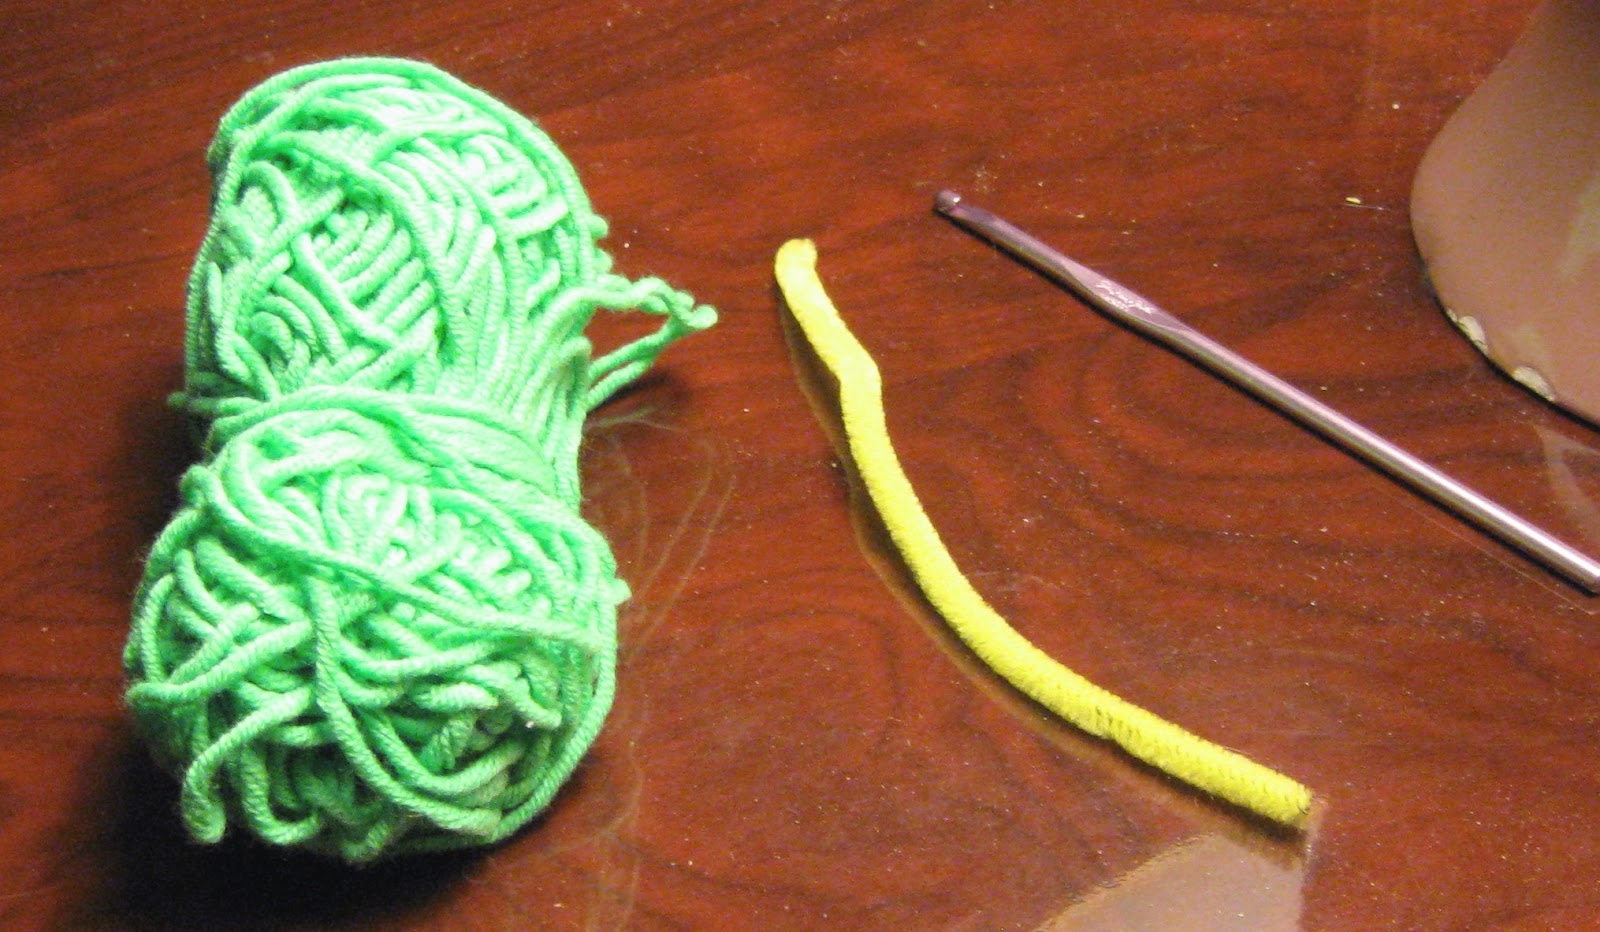
Supplies
Step 2-make a slip knot and then work many sc around the pipe cleaner.  I got about 20 sc (you may get more or less).  Then bend your pipe cleaner about a quarter of the way along.  Make sure your stitches face inward. Also, make a small bend at each end to keep your stitches from falling off the pipe cleaner.
Working sc around pipe cleaner
Step 3-Slip stitch to the 6th sc (I actually cut my yarn and joined again at 6th sc).  Work a sc in the next 3 sc.  (3 stitches).  Turn your work.
Attaching work to sc along pipe cleaner
Step 4-increase 1 sc in first stitch, then work a sc in each sc.  Before turning work, work a sc from the pipe cleaner (6 stitches)
Step 5-now comes the improvisation.  Continue working each row, increasing and attaching your work to the sc along the pipe cleaner.  Now depending how the fabric is looking, you may need to increase an extra stitch, stop increasing or perhaps even decrease.  The goal is to create a somewhat smooth fabric between the bent pipe cleaner sides--one that resembles a triangle.
Incorporating sc on pipe cleaner as the wingspan increases
Step 6-once you've worked across and created a triangle, you can work the points of the wings. I used groups of 5-6 stitches and made an inverted triangle.  I worked decreases on every other row.  Once one point was completed, I slip stitched down the triangle and worked another point using another 5-6 stitches. 
Finished wing
It's not perfect but it works and resembles the designer's original creation.  Hope this helps anyone else attempting the pattern.

No comments:

Post a Comment

Related Posts with Thumbnails